


Prototype Tooling
Low-Cost Molds for physical prototypes
Looking for a production partner that moves at your speed? Our prototype tooling enables true functional prototyping and a more efficient development process. Ready to test different plastic materials? We’ve got you covered. With prototype tooling from BeraTek Industries, you can validate your injected molded parts early, saving time, reducing risk, and improving final product outcomes.
Benefits of Using a Prototyping Tool
Prototype tooling offers significantly faster turnaround than traditional hard tooling, bringing you closer to your final design in less time. These molds are also easier to modify, allowing for design flexibility and reducing costs throughout the development process.
Or call (844) 237-2835
Process
Prototype Tooling Steps
Design
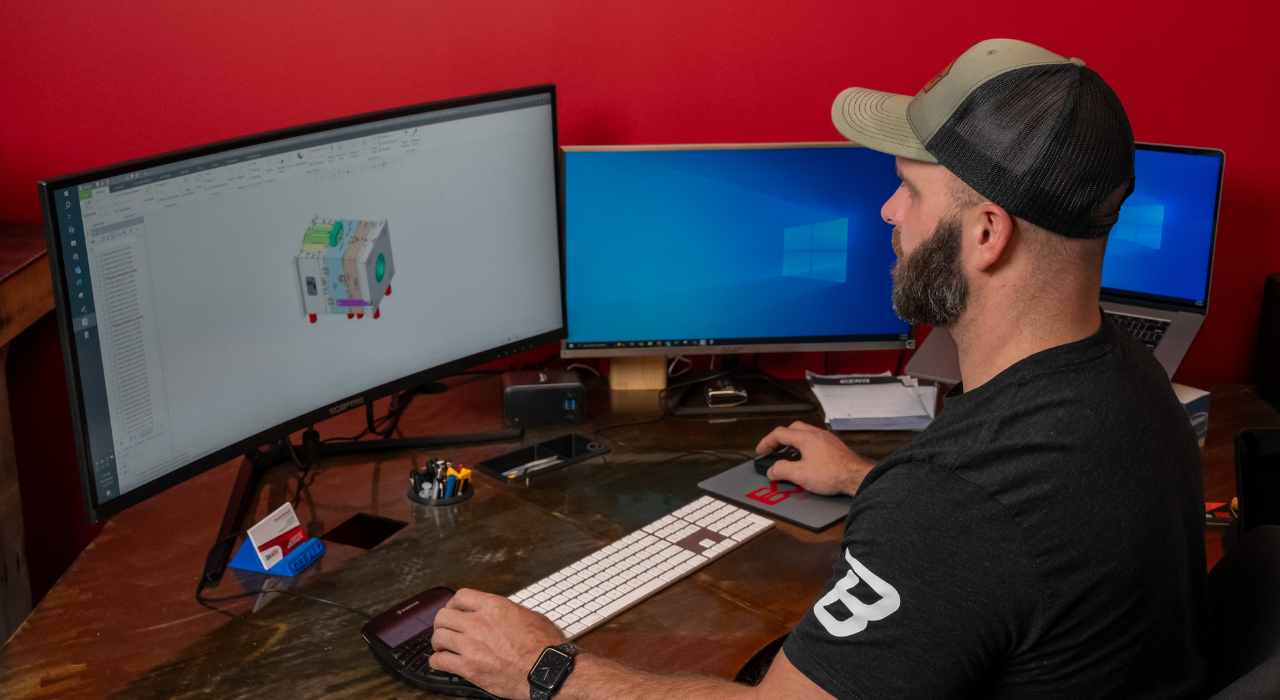
Our prototype tooling process starts with CAD-based 3D modeling and simulation of the injection molding process, followed by a Design for Manufacturability (DFM) review to ensure mold efficiency. We typically use aluminum for the tool due to its speed and cost benefits, though steel is an option when needed. Part materials are selected based on performance needs, and the mold is designed to match—ensuring functionality, durability, and efficient production from the start.
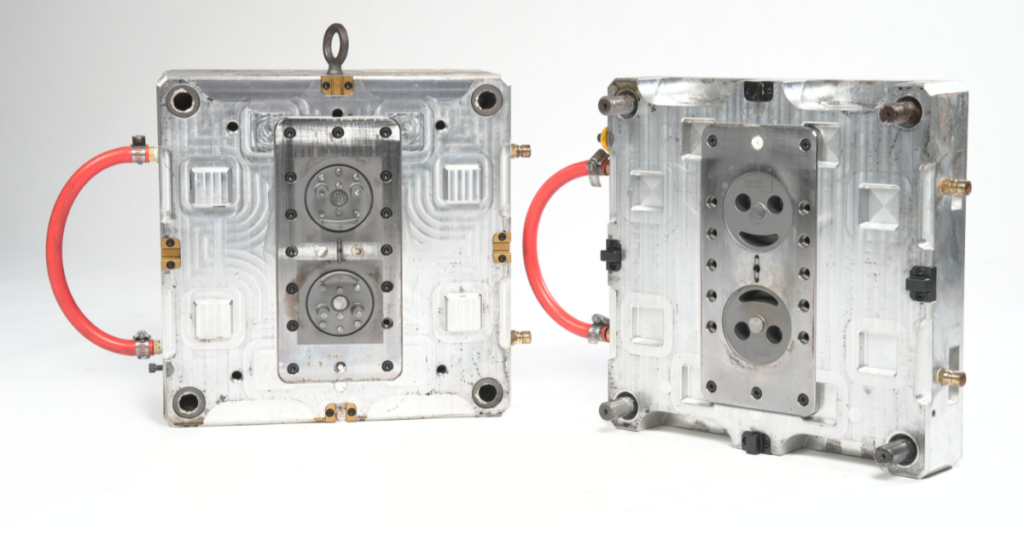
Machining
Once the design is finalized, the tooling process moves into precision machining. The mold cavities are milled into steel with exacting tolerances, followed by the assembly of all key components—ejector pins, inserts, and cooling channels—to create a fully functional, ready-to-run tool. This stage turns your digital design into a reliable production asset, optimized for accurate testing and validation.
Testing
Once the tool is assembled, we begin with initial mold trials—known as T0—to assess dimensional accuracy, part fit, function, and surface finish directly from the mold. Next, during the T1 phase, we produce the first set of parts for full evaluation. This is where First Article Inspection (FAI) comes into play: we verify that critical dimensions meet specifications and assess overall part performance. If issues arise, we fine-tune injection parameters or update the design as needed, allowing for rapid iteration and refinement before moving to full production.
Iteration
The final phase involves iterative sampling—T2, T3, and beyond—until the customer approves the parts. Each round is an opportunity to refine performance, whether through mold modifications, material changes, or process adjustments. This stage is especially valuable for new product programs, where critical insights emerge. Once the prototype parts meet specifications, the same tool can be used for low-volume production. With durability for up to 10,000–20,000 shots, a well-executed prototype tool may serve as the only tool needed for a project’s lifecycle.
Prototype vs Bridge Tooling
Prototype and bridge tooling are critical phases in product development, providing a cost-effective way to refine designs and evaluate functionality before full-scale production. These tools allow you to visualize the product, make necessary design adjustments, and test parts using production-intent materials, ensuring accuracy and performance ahead of final manufacturing.
Prototype Tooling
Prototype tooling is a cost-effective, no-frills solution for producing parts early in the development process. These tools are built with simplified configurations, such as cut-in steel cores and minimal cooling features, and typically use a single cavity machined directly into the mold block rather than interchangeable inserts. Prototype tooling enables efficient testing and validation while keeping upfront costs low.
Bridge Tooling
Bridge tooling is an ideal solution for producing parts in volumes that exceed prototyping needs but don’t yet justify the investment in full-scale production tooling. It’s perfect for small-to-medium batches and helps you move forward quickly without the long lead times or high costs of full-scale production. Whether you’re testing the market or waiting on final tools, bridge tooling fills the gap.
Key Differences
Before transitioning to full production, it’s essential to develop and test your plastic products for fit, form, and function. Discover the key differences between prototype and bridge tooling, and how each can help refine your design for a higher-quality final product.
Quality
Prototype tooling is used as a learning tool—great for early testing, but the parts produced may not meet every quality or performance standard needed for final use. The process is experimental, and the tooling isn’t built for high-volume production. Bridge tooling is designed with more durability and consistency in mind, allowing for better-quality parts that are closer to final production standards.
Volume
Prototype tooling is used for low-volume runs during the early stages of production, which is when you just need a small batch of parts to test things out early on. Bridge tooling is used for medium-volume runs, which is when you need more parts—enough to keep things moving but not quite full production levels yet.
Prototype Tooling FAQs
What is prototype tooling?
Prototype tooling is the creation of a mold or tool used to produce plastic parts for testing the fit, function, and manufacturability of a part before committing to large-scale production.
What is prototype injection molding?
Prototype injection molding is a manufacturing process that is used to create plastic parts in small quantities. This method is ideal for refining part designs and materials before moving to full-scale production.
What is the difference between tooling and molding?
Tooling refers to the creation of the physical mold or tool used to shape parts during the manufacturing process. Molding is the process of injecting plastic into the mold to create parts. Tooling is the foundation for molding, as it determines the design, quality, and repeatability of final molded parts.
What is the difference between hard tooling and soft tooling?
Hard tooling involves the use of durable, often steel-based molds that are built to withstand the stresses of large-scale manufacturing and produce parts consistently at high speed. Soft tooling uses materials like aluminum and is designed for lower-volume production, making it ideal for prototyping and smaller batches where cost and speed are key considerations.
How many parts can you get from a prototype tool?
A well-made prototype tool can typically produce 10,000 to 20,000 parts, depending on the material used and the complexity of the design. For many projects, this is sufficient for testing, validation, or even low-volume production runs.
Streamline Your Path to Production
BeraTek Industries is here to guide you through the transition to larger-scale production, making any necessary adjustments for longer-term success. As your trusted early-stage development partner, we’ll help you we’ll make incremental modifications to refine both individual parts and entire products, ensuring a seamless path from prototype to final production. Let’s work together to bring your vision to life.